How to Install and Import Presets in Adobe Lightroom (2024)
The presets provided by Adobe LIghtroom are its best feature. They help you in completing hours of editing work in seconds and provide better results than manual editing. And if you’re the type of photographer who likes to edit his work manually, then presets provide you that liberty as well. You just have to apply the best-looking preset and once that is done you can further edit it manually.
Now, we all know that using presets is a child’s play. But installing and importing them can be a little tricky. Today I’m going to help you with this issue by telling you How to install and import presets in Adobe Lightroom so that you face no problem regarding the installation and importing process.
How to Install and Import Presets in Lightroom Classic
Lightroom Classic supports .XMP files as presets because it is on desktop only. There are three methods to import and install presets in Lightroom Classic which are given below:
METHOD 1: By Using the “Import Presets” Option in Lightroom
- Firstly, Download the presets from LROOMAPK.COM which would be in .XMP format.
- Once you’ve done that, open Lightroom Classic and then click on “Develop” Module in the top-right corner.
- In the Develop module menu, look at the left-side to open the ‘presets’ option.
- After opening the presets option select the preset you’d like to import.
- Now you’ll see an “Import” option, just click on it.
- Once that is done, All your imported presets will now be available in Lightroom Classic in Presets > User Presets.
- You can also create a folder under the presets option in Lightroom to organize your
- presets.
- Now all you have to do to use a preset is just click on its name and Lightroom will apply it automatically.
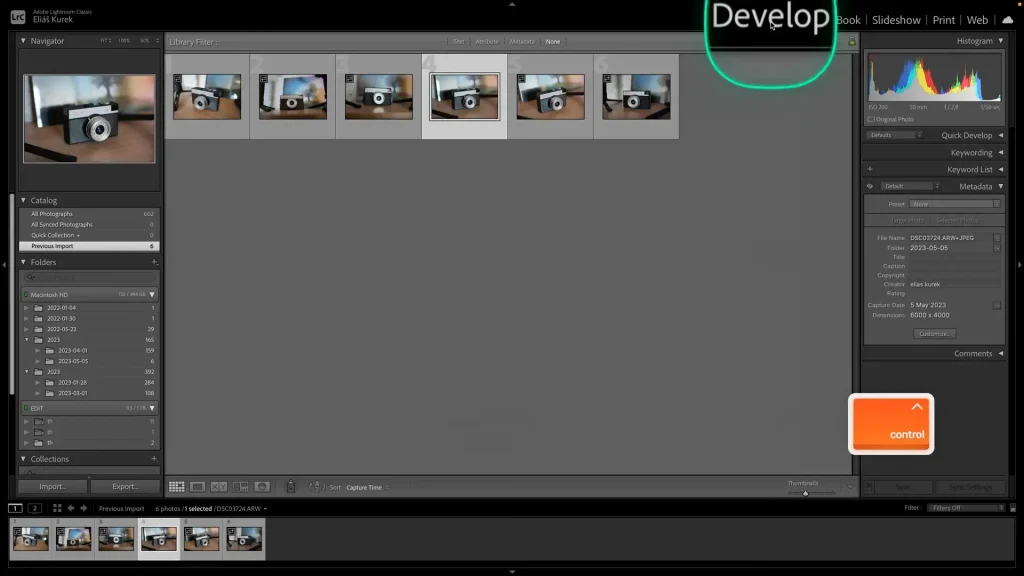
METHOD 2: By Dragging & Dropping the Presets in Lightroom Classic
- Make sure you’ve downloaded all the presets you want from this website.
- If you’re a Windows user then open ‘file explorer’ and if you’re a MacOS user then open ‘finder’ and locate the folder where you’ve downloaded your presets.
- Now select the presets you want to import to Lightroom Classic.
- After selecting the preset files drag them to the Lightroom Classic window.
- Once you do this, Lightroom will automatically detect the imported presets files and open a new window called “Import Presets”. Select the import option in that window and then click on ‘Import’.
- After this, your imported presets will now be available in Lightroom in Presets > User Presets.
- If you want you can also organize your presets by creating a folder in Lightroom under the presets option.
- Now just click on the name of the preset to apply it on images in Lightroom Classic.
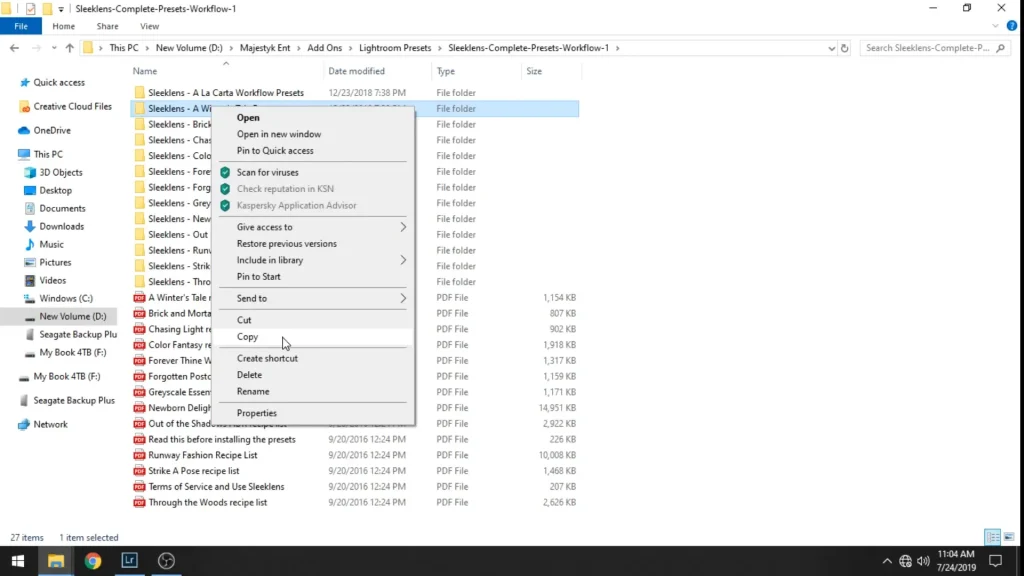
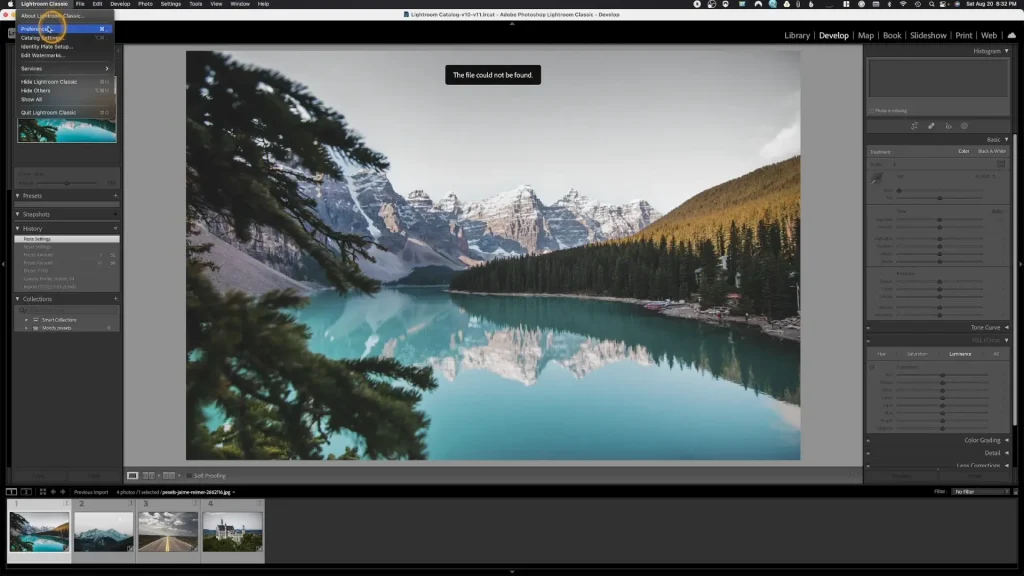
METHOD 3: By Using the “Preferences” in Lightroom
- First of all, open Lightroom on your desktop and then click on “Lightroom Classic” at the top of the screen and then click on the “Preferences” option.
- There will be a presets presets option there, click on it and after that select “Show Lightroom develop presets”.
- Now you get two options, you can either copy or move the downloaded presets there.
- Once you’ve done that you can create subfolders to further organize your presets accordingly.
- Now, click on the preset you want to use and it will be applied to your photos and videos instantly.
- Restart the Lightroom Classic App to make sure that all your presets have been successfully exported.
How to Import Presets in Lightroom CC (Mobile)
Following are the best methods to install and import presets in Lightroom Mobile:
METHOD 1: By Synchronizing with Lightroom Classic
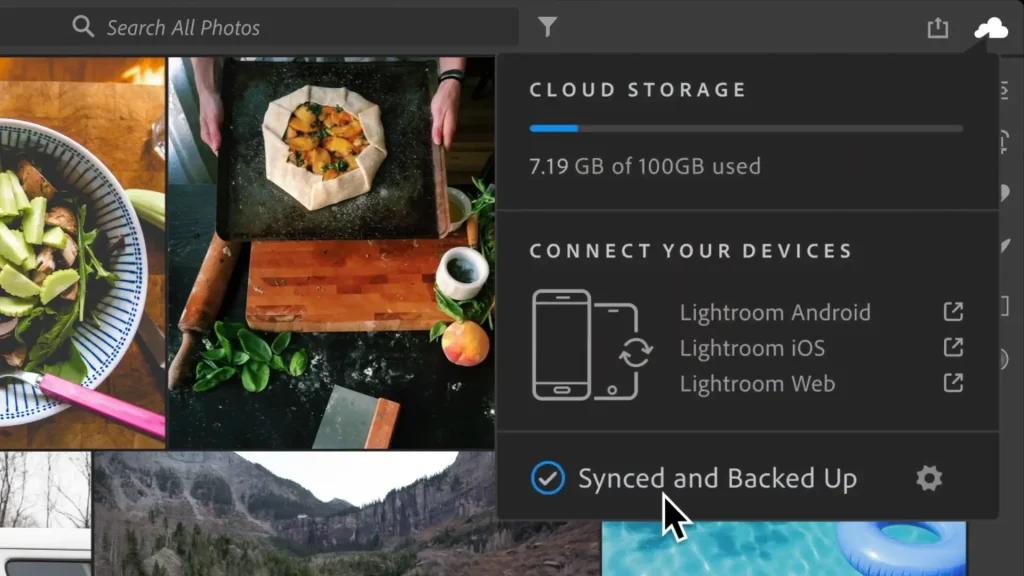
If you’ve already imported the presets in Lightroom CC/Desktop then you don’t have to worry about importing them in Mobile devices as well, because once you do something in Lightroom on one device it is automatically added on other devices due to cross-synchronization feature of Adobe Lightroom called “Adobe Creative Cloud”.
METHOD 2: By Importing the DNG files
- First of all, download all the presets you want to apply to your images.
- Make sure you download the required presets in DNG format because you can only use presets in DNG format on mobile.
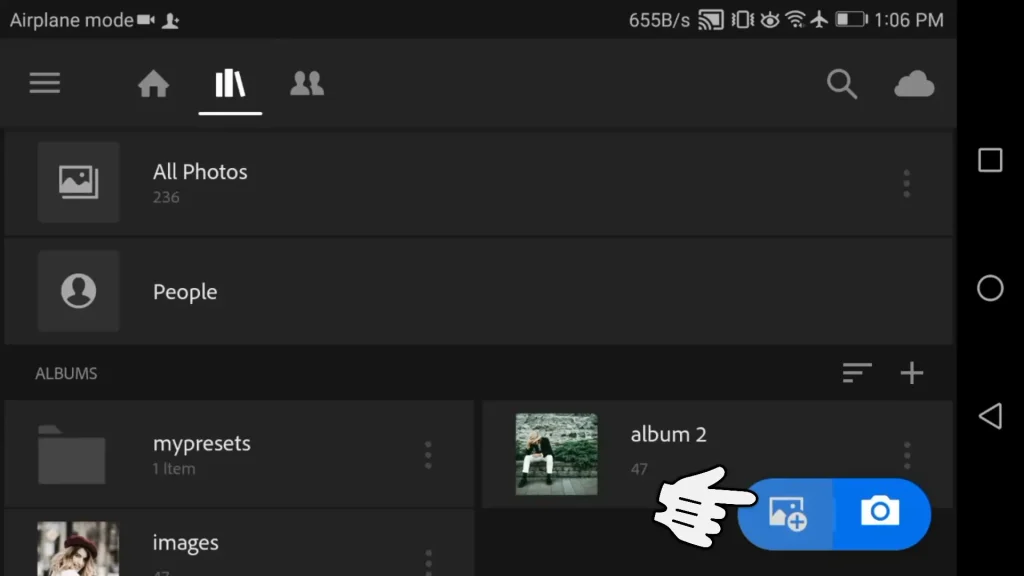
- To import the presets click on “+” or “Add a photo”.
- After that a menu will open, click on the “From Files” option.
- Select the folder where you downloaded the DNG files.
- Now select all the preset files you want to import in Lightroom Mobile and then click on the “Add” or “Import” button.
- You can also save these presets for the future by clicking on the three dots option and then selecting the save preset option.
- Now simply click on the name of the saved presets and it will be automatically added to your images or videos.
- From here you can save the edited media file or you can further edit the image or video you applied the preset on.
METHOD 3: BY Using the “Import Presets” Option
- First of all open the Lightroom CC App on your Mobile device (Android or iOS).
- Select a photo to edit or open a new project by clicking on ‘+’.
- Now you’ll see a presets option at the bottom of the screen. Click on it and then click on the three dots at the top of the screen.
- After that click on the “Import Presets” option.
- Now just like in the Desktop process, You have to navigate to the folder where you downloaded the presets files and then select the presets you want to import.
- After that click on the Add or Import option to import the presets in Lightroom.
- Now you’ll see that your imported presets will appear in Lightroom in the presets option.
- Just Click on the preset you want to use and then it will be automatically applied to your images or videos.
- Now it’s up to you to further edit the image or video or simply export it.
Conclusion
These were the simple, easy and best methods to install and import presets in Adobe Lightroom. I hope that this article helped you to accomplish this task and made it easier for you to do so. If you don’t know which method is the best for you just pick any one because all the methods have exactly the same end result.
If you have any issues regarding how to install and Import presets in Adobe Lightroom, Make sure to leave a comment and I’ll reply to it as soon as possible.
FAQs
How do I add presets to Lightroom Photos?
Just click on any of the above mentioned methods to apply presets to photos in Lightroom.
Why can’t I import presets to Lightroom?
If you can’t import presets in Lightroom then go to preferences > visibility and make sure that “Store presets with this catalog” is unchecked.
Do professional photographers use presets?
Yes, Professional photographers do use presets but they further edit the photo after applying preset.
Can you import presets in Lightroom CC?
Yes, you can import presets in Lightroom CC with the help of any of the three methods mentioned above.
Are Lightroom presets free?
Yes, most of the Lightroom presets are free but some of them require a premium subscription.


